
How to Take a Passport Photo at Home: A Step-by-Step Guide for the UK
If you’re heading abroad but don’t have valid travel documents, getting your passport photos can be a hassle. In the past, taking these pictures was time-consuming and costly.
But today, you can take your own passport photo at home – and upload it directly to the government’s website (or print and mail it with your application). Follow the tips below to take your photo quickly and easily by yourself – or make it online in 2 minutes.
Contents
DIY Passport Picture Equipment List
-
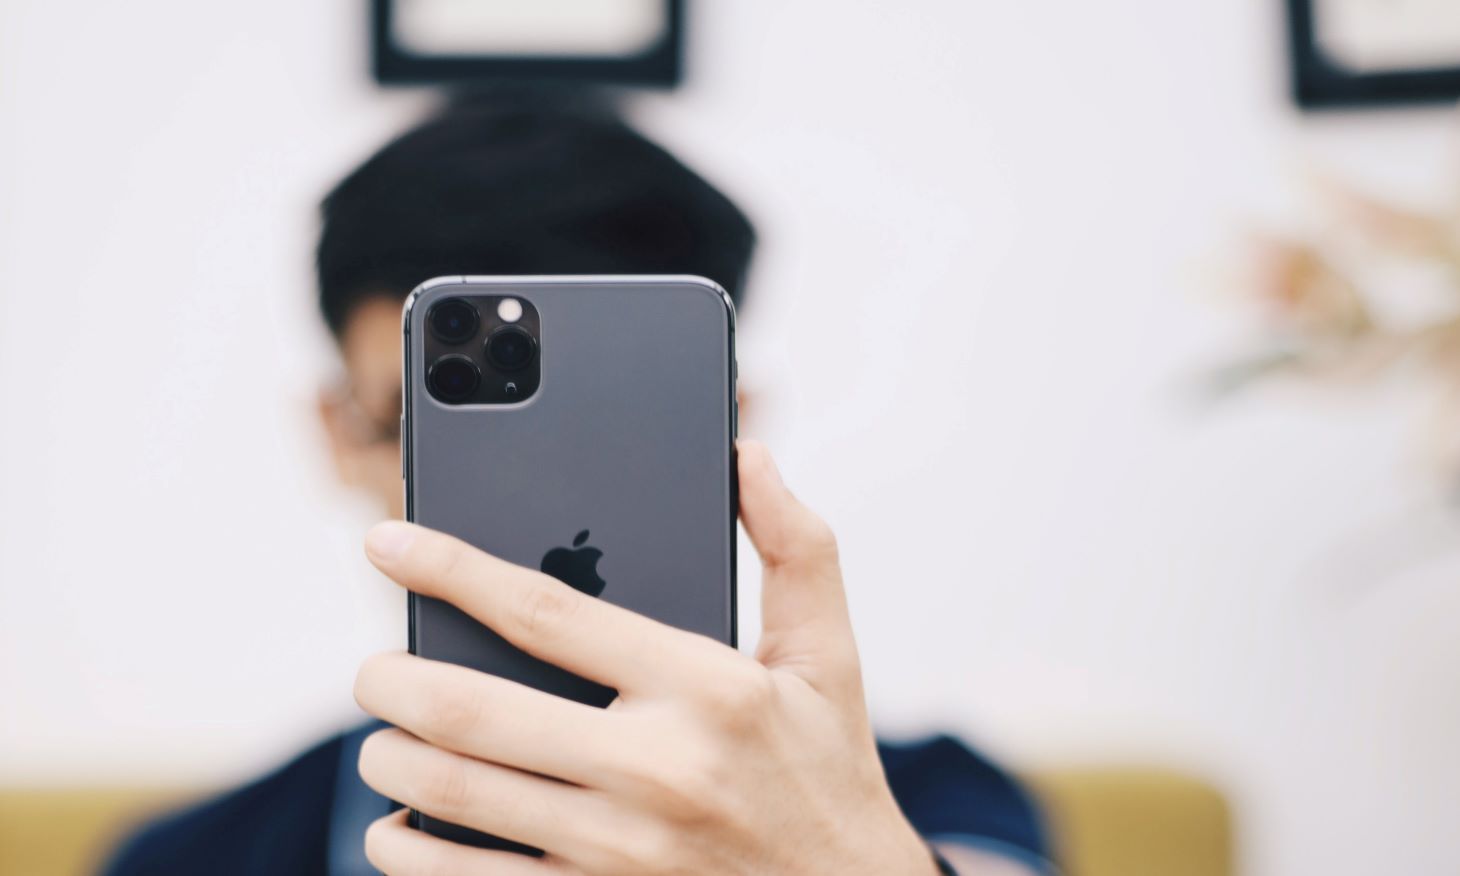
A mobile phone with a camera. Please note that your smartphone has to be able to take high-quality snapshots. According to the official rules of the passport office, digital photos must be at least 600 pixels wide and 750 pixels tall—make sure that your phone can do that.
Unsure what the parameters of your mobile are? Run a visual check of the photos it makes—if they’re in clear focus and every detail is visible, you’re good to go.
-
A tripod or a friend to hold the camera (optional). The former is a perfect solution for taking a passport photo due to its stability. However, a friend or your family member should do the job just fine, too: just make sure he or she knows what to do.
To be fair, even a photo taken at arm’s length is acceptable as long as you get the camera angle right.
-
An off-white background. In UK passport photos, the only accepted colour is light grey. If you happen to have a wall whose colour reminds a plain light-coloured sheet, you’re in luck—use it as your backdrop. Otherwise, a hung-up bed sheet or projector screen should work, too.
-
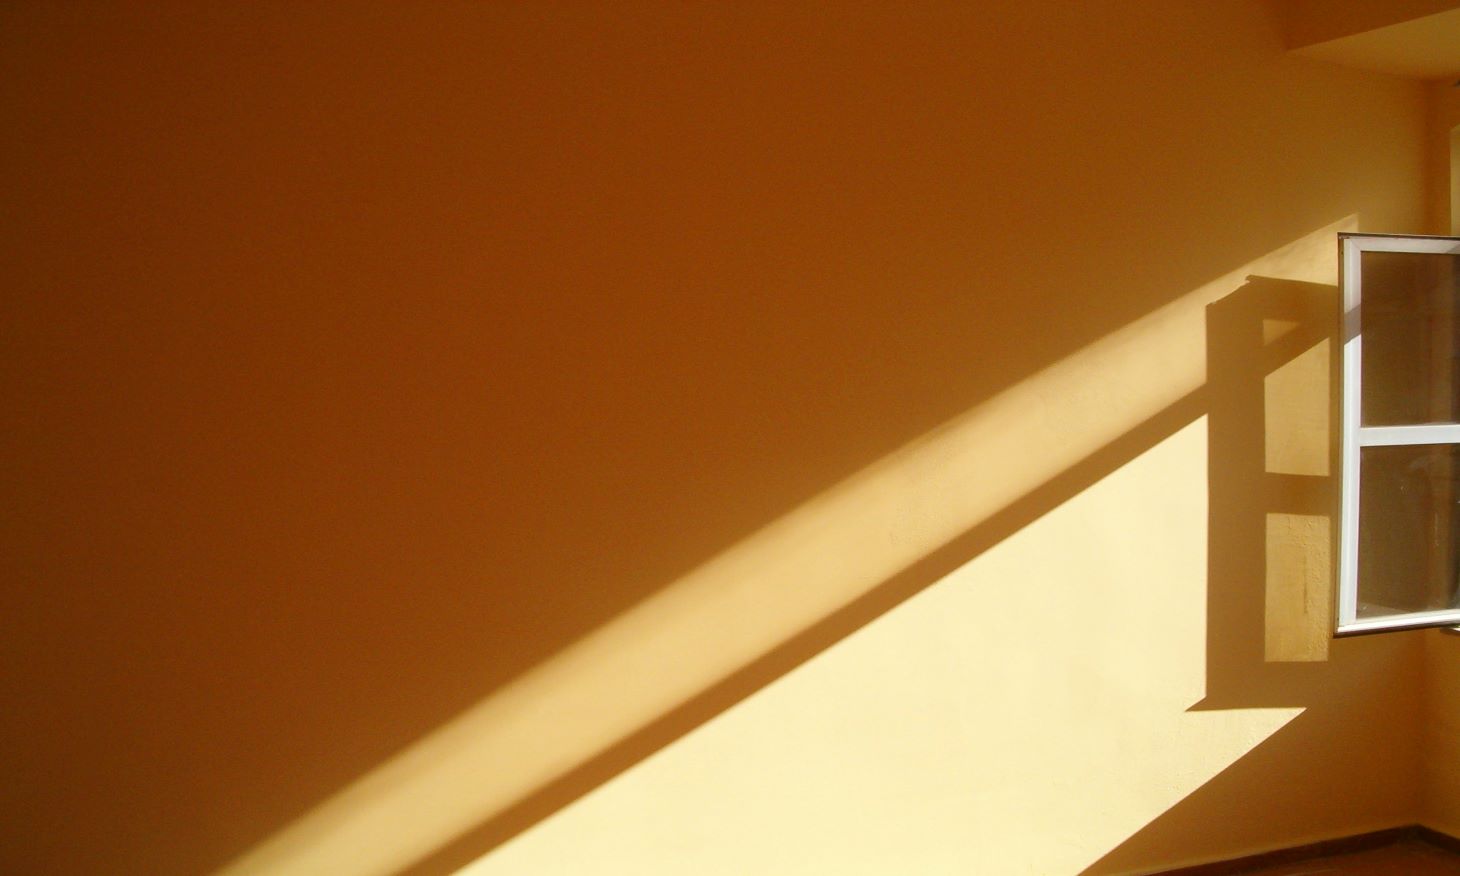
A source of even natural lighting. Please note the word ‘natural’—such lighting is preferable because it illuminates you evenly without creating shadows (which are a no-go when you take passport photos). A large window with mild daylight coming in will make a perfect lighting source.
-
A colour printer (optional). Make sure that it supports photographic paper. Unfortunately, you can’t reproduce your images on any sheet of white paper you’ve got at hand.
Take Your Passport Photo at Home in 5 Steps
Don’t worry, there won’t be any overly detailed prompts. Simply follow these steps one by one—it’ll be a breeze!
Step 1: Set Up Your Phone for Taking Passport Photos
First of all, open your camera app and make sure it’s set to portrait orientation. Also, disable flash—you don’t want to get the red-eye effect, right? Last but not least: if there are any pre-set filters, turn them off! HMPO won’t accept any Instagram-like selfies.
Step 2: Create a Look That’s Appropriate for a Passport Photo
Pay attention to what you wear. It’s not the time for a fashion revolution, so we suggest a neutral business-style outfit that will make a good contrast with the background. Hats are forbidden in most cases (headwear can be worn for religious or medical reasons only).
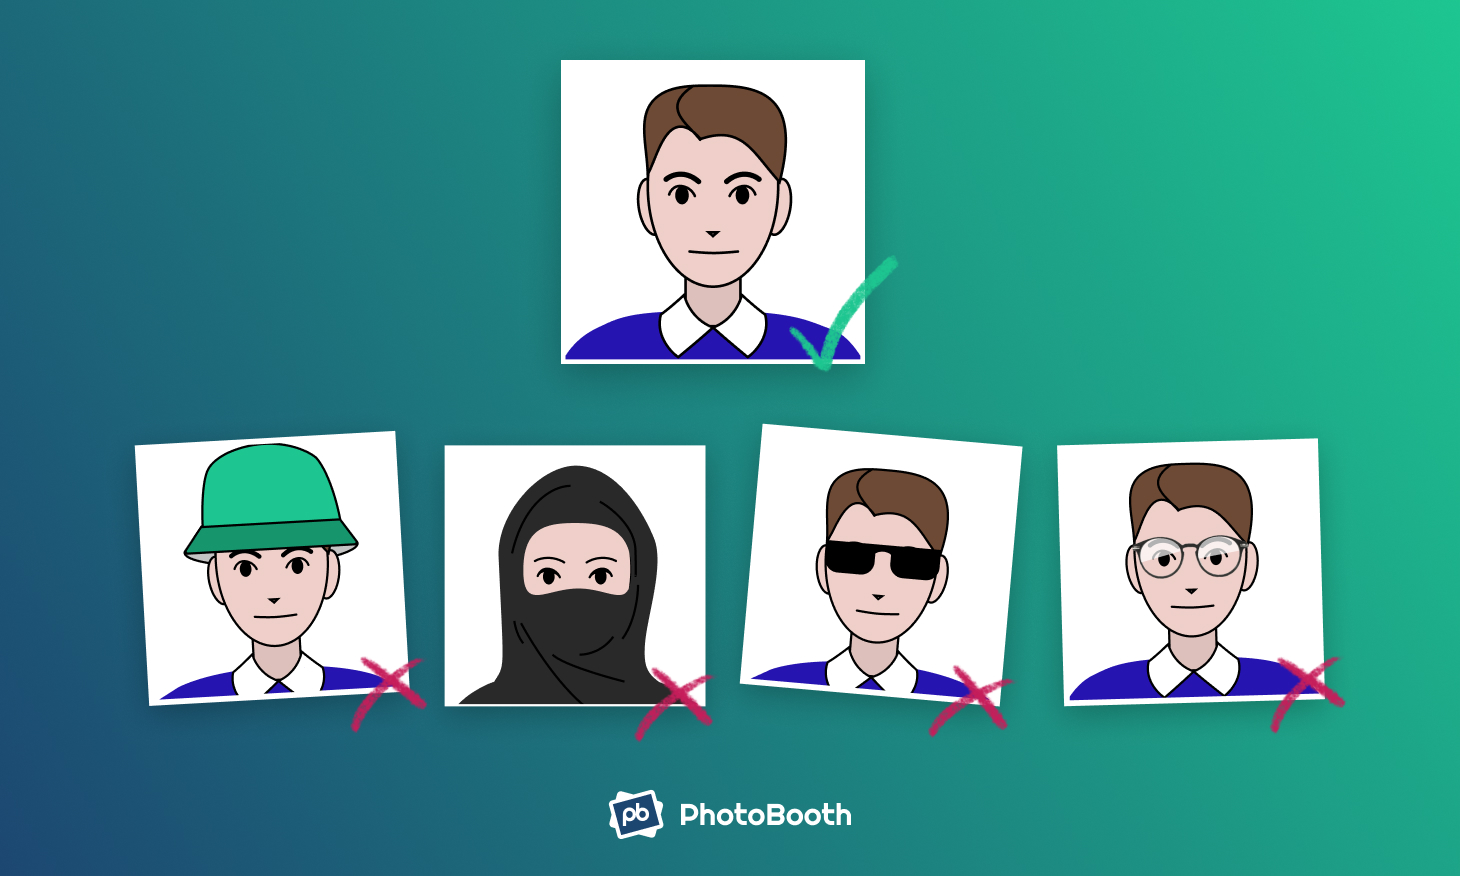
If you wear glasses, you may keep them on only if you absolutely need them to see better (they can’t make any glare though). It goes without saying that purely decorative glasses are not allowed (sunglasses, for example).
Also, ensure that no shiny accessories like jewellery make it in your photos—otherwise, they’ll be rejected.
Finally, tidy up your hair. While the HM passport office doesn’t provide specific rules on hairstyles, remember the rule of thumb—your hair cannot cover your face.
Step 3: Arrange Your Own Passport Photo Set
Position your tripod or a phone selfie stand in front of your improvised background (or ask your friend to stand there with a camera). As you remember, your background can be a wall, a bed sheet or a projector screen—any of these will do as long as it’s of uniform plain cream colour.
If you’re taking your passport photos alone, it’ll be enough to just stand straight with your back 40cm away from the wall.
Then, take care of the lights to avoid shadows. Try to find a window: daylight is the most preferable option (not direct sunlight, mind you!). Still, you can also try multiple artificial light sources to create an even and balanced illumination without any shadows.
Step 4: Create a Passport Shot-Like Composition
If you’re using a tripod, install your smartphone in it with the back camera looking at you (the frontal one would most likely provide a lower-quality shot). It’d be perfect if you have a remote shutter control. If you don’t, use the integrated timer.
To find the right position for yourself, take a test shot and then move the tripod closer or further if necessary.
Whether it’s you or your friend who’s going to take passport photos, check that your head is fully in the frame, as well as the upper parts of your chest and shoulders. And don’t forget about having a clear focus!
Step 5: Take the Photo (Better Yet, Take Several)
Don’t stop at the first shot. Instead, take your new passport photos one after another. Don’t try too different facial expressions and poses though or you’ll have to retake.
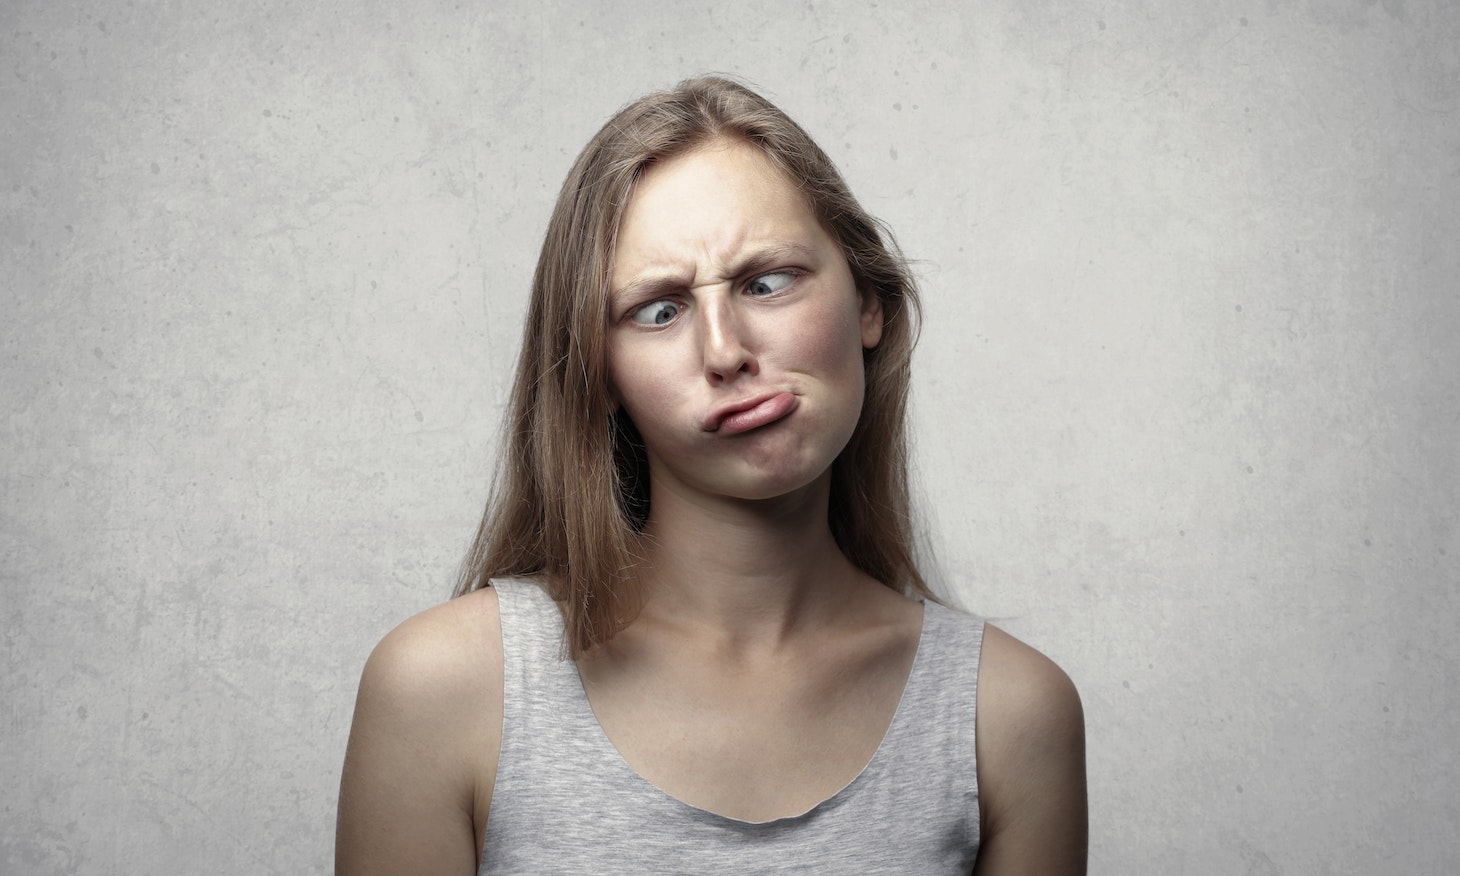
Just strike an upright standing pose, roll your shoulders back, look directly at the camera, keep your eyes open, lift your chin the slightest bit up and maintain a neutral expression (i.e. keep a straight face and don’t smile).
Once you’ve taken at least a dozen of shots, review the results and pick the best one to become your new passport photo.
In case you’re going to apply online, you don’t need to do anything else. If you’ve taken your image properly, you can submit it at the official gov.uk page.
Step 6: Print the Passport Photo With Your Home Printer (Optional)
To do that, open your image in a computer editor and insert two copies of it into a four-by-six template (don’t fill it with your image, just insert it as it is!). Once it’s done, reproduce the template on the special paper and check your shot with a ruler to make sure the size is correct.
At last, make sure that your prints don’t have any tears or creases.
Taking Passport Photos at Home: An Easier Way
Despite being concise, our guidelines give you lots of details, and this can be overwhelming. At some point, you might even think to use a photo booth or a local studio instead. If you’re having second thoughts, we’ve got a simple alternative—use our service to get a UK passport picture online!
With our convenient tool, you’ll be able to skip at least three steps from the above-mentioned instructions. You won’t need to set up your phone camera settings, arrange a DIY photo set or carefully compose your shot!
All you need to do is make sure you wear something appropriate for passport photos and that you have sufficient even lighting with no shadow.
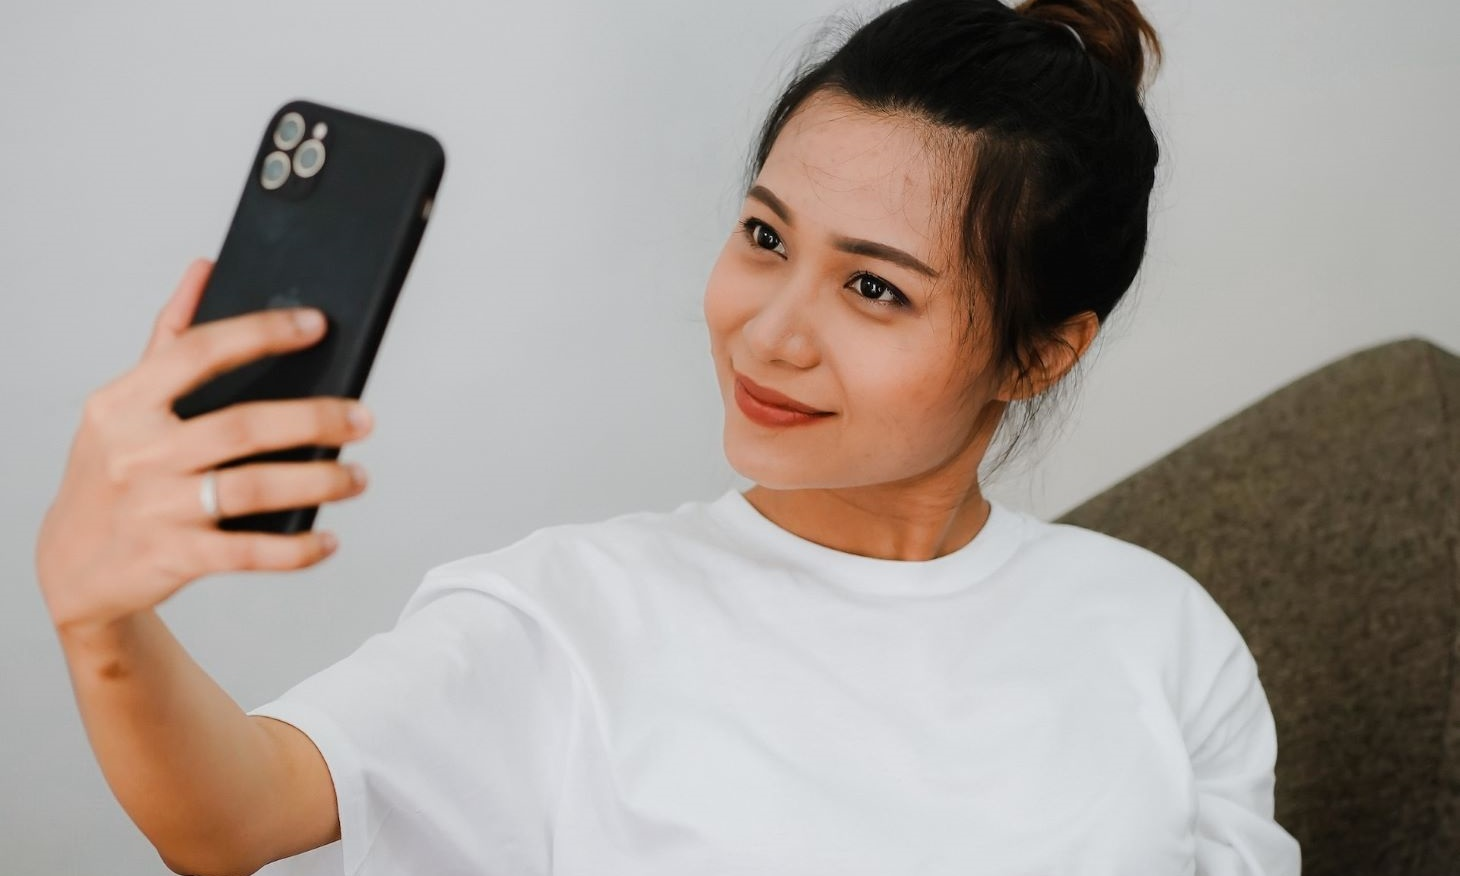
Then, grab your smartphone and take a picture of yourself: remember to keep an upright pose with your head completely in the frame and maintain a neutral expression. Also, make sure to face the camera directly. You can take the photo even at your full height and with any background behind you.
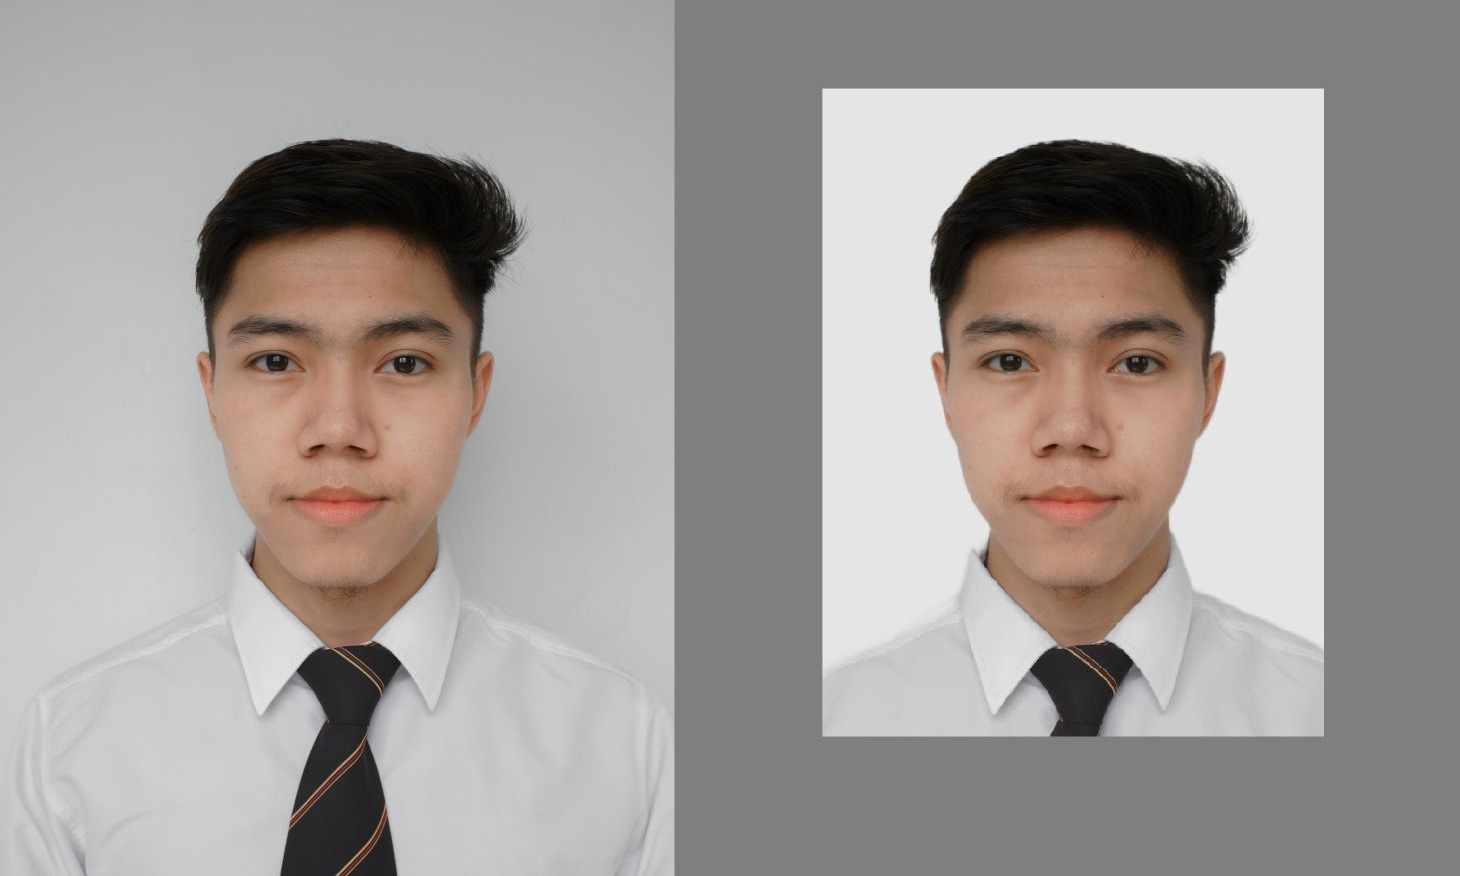
In any case, it’ll be made compliant once you upload it to our website. We’ll resize and crop your image (only your head and shoulders will be visible) and replace any background with the correct off-white colour. This takes seconds: once it’s done, save your new pics in an instant! And even if you accidentally make bad passport photos, it’s not a problem: retake them as many times as you want.