
Passport Photo Lighting Made Easy
When you’re thinking to take a new picture for your travel document at home, it’s possible that you don’t take into consideration the technicalities involved. These may include finding a plain background suitable for a UK passport photo, preparing your equipment (even if it’s just your smartphone) and so on and so forth.
But some of the most overlooked aspects of a decent passport photo is the lighting. Poorly arranged illumination can change your appearance dramatically, which may then result in rejection by His Majesty’s Passport Office. This is especially important when you’re trying to take a passport photo at home.
But, at the same time, it doesn’t mean that you need to arrange a full-scale professional illumination system. It may well be enough to make use of what you have close at hand right now, and this post will tell you how to do it.
Contents
Passport Photo Lighting: Are There Any Requirements?
When in doubt about something, it’s always better to consult official sources.
Though, if you try and look on the government’s website, there will be no explicit rules on parameters of light specifically. But they do, however, have certain requirements for both adult and baby passport photos:
- clear and in focus
- in the correct colours
- in clear good contrast with the background
- without the red-eye effect
- without any shadows on your face or the background
At the first glance, these aren’t relevant when we talk about good lighting in passport photos. But this isn’t true.
If you set up your lights ineffectively or just wrong, it can make you fail one or several of these requirements. And even having a high-end digital camera or smartphone won’t help you: if you don’t have enough light in the first place, it’s all practically useless, and playing around with camera settings won’t change that. That leads us to the obvious conclusion:
When taking your passport photo, remember that properly set up lights are key if you want your picture to be right and compliant.
Passport Photography Lighting: Ins and Outs
Suppose you’re having an improvised photoshoot right at home. The main condition for your success is even light that doesn’t accentuate or play down any part of your face/head/shoulders/chest or the background. In other words, all of your features and the overall picture must be undistorted and fully visible.
And uneven lighting can’t give you that. Say, if one side of your face is even a bit brighter than the other, your passport photo will most likely be rejected. Other examples of non-compliance may include cases where you have a shadow on your neck (due to the main light source being placed too high) or red eyes (because you used a flash that’s too bright).
Also, hard light is another thing you should avoid in your passport photo. Illumination is usually called ‘hard’ when it’s too direct and way too bright: that’s why such lighting can create sharp shadows and accentuate some parts of your passport image. And you don’t want either of that if you need your passport application accepted. Some examples of hard lighting include projectors of excessive wattage and direct (read: undiffused) sunlight.
So, the overall takeaway here is that your light should be even and soft.
If you can ensure that, there should be no trouble whatsoever.
Best Lighting for Passport Photo
So, we’ve figured out the best conditions for your improvised photo session, but we never went into details as to what your light sources should be. Is your artificial illumination enough or should you increase its wattage? If you should, how do you understand when it’s bright enough for your passport photo?
First of all, when it comes to arranging your lights, remember: natural light is your best friend. If you have it (in a decent amount), you should absolutely use it in the first place, no additional equipment needed. Just make sure it’s not direct sunlight but a diffused midday-white daylight: that’ll be perfect for your passport photo.
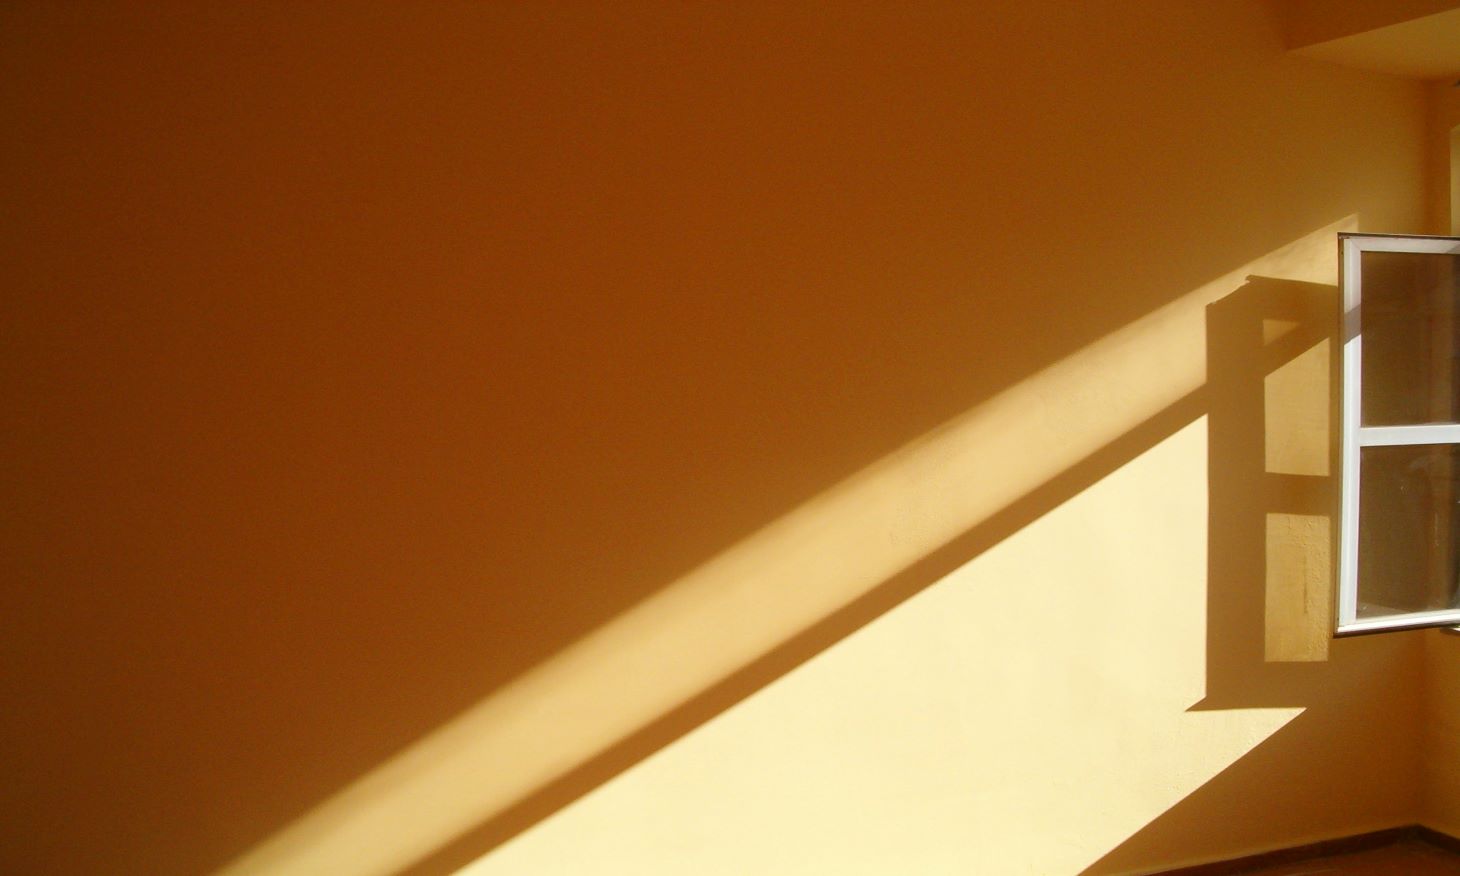
Here’s what you do next: sit or stand in front of one of your windows (or outside, if it’s more comfortable) so that your head, neck and shoulders are evenly lit and there are no shadowy spots.
Sometimes weather conditions can make daylight too hard. If this happens, try to diffuse it: for instance, you can use half-transparent curtains.
Once you manage to harness natural light, getting your passport photo should become a no-brainer.
But what if it’s dark outside and you can’t wait until tomorrow? After all, some people are always busy with work during the day, others need to take their passport photo urgently and can’t wait, while still others live in the Far North where daylight is a rare thing.
If this is the case, arranging your own setup will be a reasonable (but a bit tricky) option.
Passport Photo Lighting Setup: Do It Yourself
So, if it’s dark outside and you can’t wait, resort to artificial illumination. But we should break it to you from the start: the ceiling lights in your living room won’t be enough.
First of all, their colour temperature (measured in Kelvins) is likely to be lower than the one we need (and it can’t be changed by adjusting your digital camera settings). Your usual home lightbulb is around 2800K, while daylight is typically some 5500K strong. And even if you have 5500K bulbs somewhere, we doubt that their position allows for even illumination without any shadows (as required by the UK rules for passport photos).
Why not use flash then?
Yes, flash is an option, but you need to be careful with that. If it’s too close, there will be the notorious red-eye effect (unacceptable in passport photos!). If it’s too bright, it can give a very hard light that will make the image shadowy and too sharp. Also, if you wear glasses, they’ll most likely reflect the flash.
So keep it a good deal away and/or try to either diffuse (say, hold a sheet of white paper some 20 cm in front of it) or reflect it (a small mirror should do). Although this may pose a problem if you’re using a smartphone to take your passport photos.
It’s better if you use something portable as your light source, just make sure it has a bulb of the colour temperature close to the daylight.
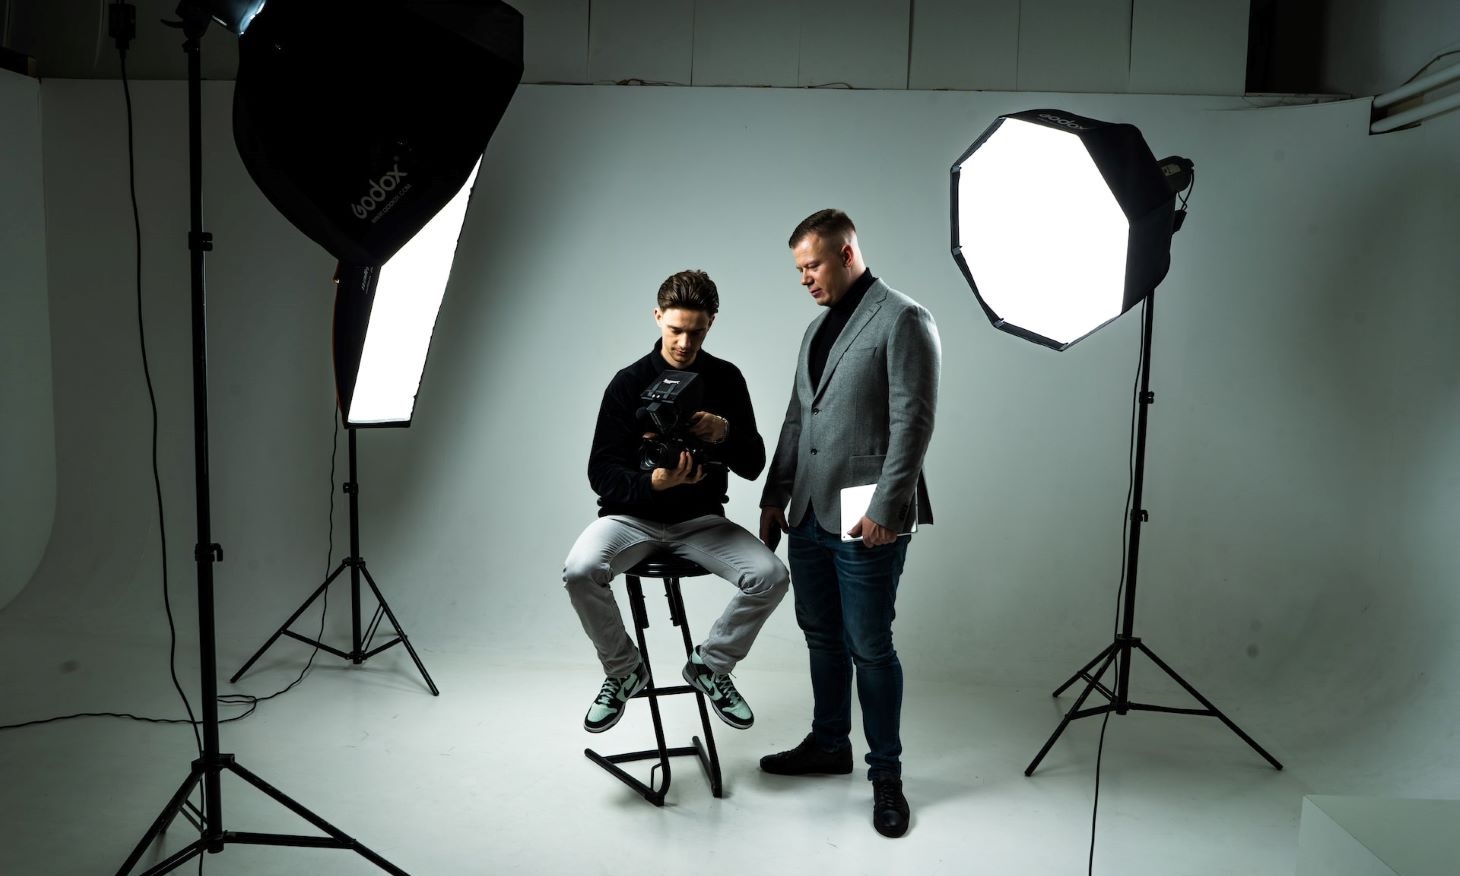
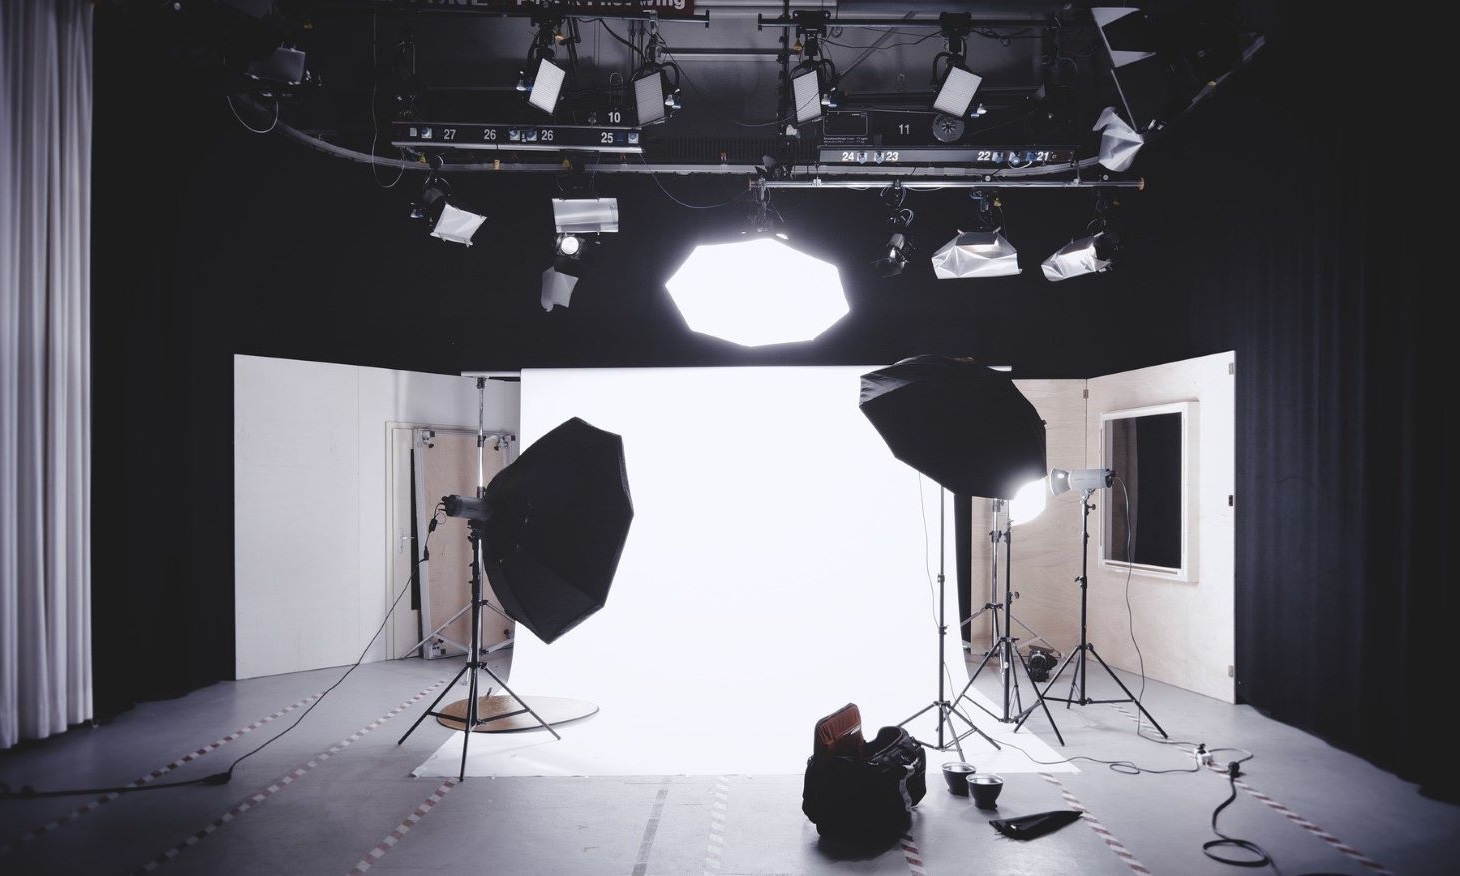
We would recommend using a three-point arrangement when making your passport photos: have two lamps of equal wattage standing on your left and right at a 45-degree angle to you and at your eye level. Thus your face should be evenly lit. If there are shadows under your chin, try using a reflector to eliminate them. In case there are other darker spots, they can also be ‘filled’ by reflectors or smaller lamps.
And if you’re taking your passport photos against a background, add a third source of light in there too. For instance, you can put a lamp somewhere around your feet and point it at your backdrop.
As you see, making your own passport photo lighting may be too bothersome. Thankfully, PhotoBooth Online has a free UK passport photo requirements checker, and it works for other types of pictures, too. Simply upload your digital image, and we’ll remove the background automatically. This means you don’t need to worry about how it looks! On top of that, we’ll help you check your photo against the other requirements, all for free!